
Stop Guessing! Here’s How to Choose the Right Disc Brake Adapter

Upgrading your disc brake rotor size? Great choice! More rotor means more stopping power, better heat dissipation, and a greater chance of making that last-minute stop before you kiss a tree. Before you bolt on that new rotor, you need the right disc brake caliper adapter to make everything fit perfectly.
Here’s a five-step guide to help you identify and select the right adapter for your setup, whether you have Post Mount (PM), International Standard (IS), or Flat Mount (FM) brakes.
Step 1: Identify Your Frame/Fork Mount Type
Here are the three main types:
- Post Mount (PM): Bolts are parallel to the rotor. Common on modern mountain bikes.
- International Standard (IS): Bolts are perpendicular to the rotor. Older frames use this.
- Flat Mount (FM): Compact, sleek design. Found mostly on road and gravel bikes.
Identify yours before ordering.
Step 2: Determine Your Current and New Rotor Size
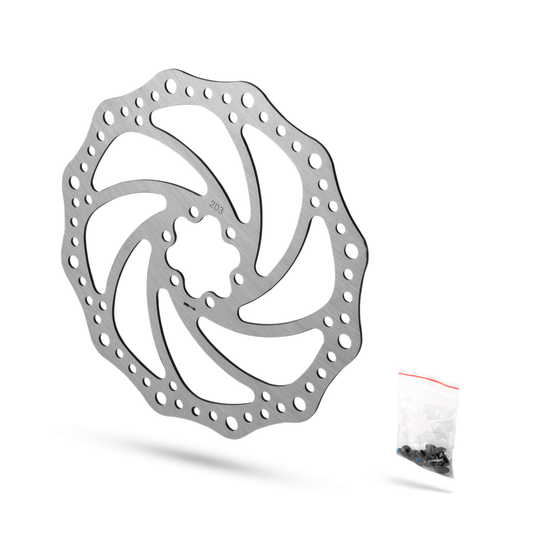
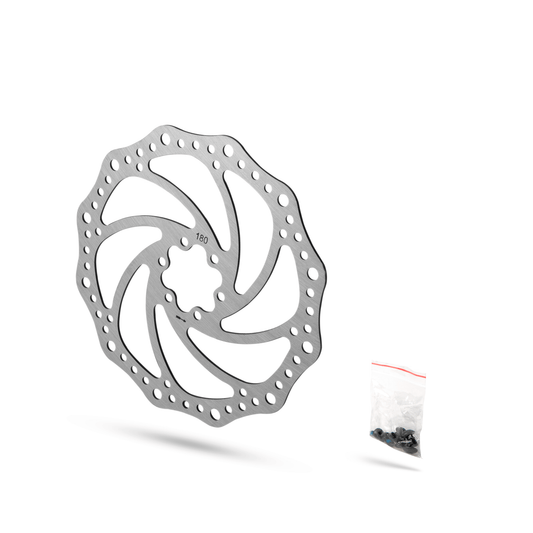
Disc rotors come in standard sizes: 140mm, 160mm, 180mm, 200mm, 203mm, and 220mm.
- Going bigger? You’ll need an adapter to lift the caliper further out to fit the larger rotor.
- Going smaller? This is rare, but some setups allow it if you're switching from an oversized rotor to a standard one.
Rule of thumb: Rotors jump in 20mm increments and every jump requires an adapter change.
Step 3: Choose the Right Adapter for Your Mount Type
Most bikes will have a post mount (PM) or international standard mount (IS) for a 160mm rotor. The exception to this rule is long travel mountain bikes can have a mount for 180mm rotors (PM or IS). Now that you know your mount type and rotor size, here’s how to pick the correct adapter:
For Post Mount (PM) Frames & Forks

- If you choose a 203mm rotor and your fork (front) is a post mount then you want a PM-PM-F203.
- If you’re a mountain biker and your fork is PM 180mm and you want a 200mm rotor, you need a PM-PM-F160/180 (your standard mount is 20mm larger than most so you only need to increase the height by 20mm).
For International Standard (IS) Frames & Forks

- IS mounts always need adapters, even for stock rotor sizes.
- To go from IS to PM for a 180mm rotor, you need an IS-PM 180mm adapter.
- To go from IS to PM for a 203mm rotor, you need an IS-PM 203mm adapter.
- IS adapters often include spacers - don’t lose them!
For Flat Mount (FM) Frames & Forks
- Flat mount setups often limit rotor size, but adapters exist for larger rotors.
- To go from FM 140mm to FM 160mm, you need an FM-FM 160mm adapter.
- To run a 180mm or 200mm rotor, some brands offer FM-PM adapters that allow Post Mount calipers on Flat Mount frames.
Step 4: Check Compatibility with Your Caliper and Frame
Not all adapters work with all brakes! Before clicking "buy," check:
Bolt Length - Going up in rotor size may require longer mounting bolts (included with the adapter). If one of the bolts is longer, make sure that one goes on the thicker part of the adapter.
Correct Adapter Orientation - If there is an up arrow on the adapter, ensure it’s pointing up. Give your wheel a spin to check for any rubbing.
Frame & Fork Limits - Some frames and forks max out at 160mm or 180mm rotors. Check manufacturer specs before you try slapping on a 220mm rotor. Ignoring the manufacturers recommendation of maximum rotor size may void warranties and lead to injury or death.
Step 5: Install & Test Before Hitting the Trail
Once you have the right adapter, follow these steps:
1️⃣ Mount the adapter between your frame/fork and the brake caliper.
2️⃣ Use the correct bolts (apply Loctite for extra security).
3️⃣ Align the caliper so the brake pads sit evenly on the rotor.
4️⃣ Test by spinning the wheel - the rotor shouldn’t rub.
5️⃣ Give it a test ride in a safe space before bombing a downhill run!
Final Thoughts
Picking the right disc brake caliper adapter isn’t rocket science, but choosing the wrong one can leave you with poor braking performance - or worse, a dangerous setup. Follow these five steps to upgrade your braking power with confidence.
Got questions? Drop a comment or ask your local bike shop before making the switch! 🚴♂️🔥🐐
You might also like
- How to Replace a Disc Brake Rotor, 6-bolt, centerlock, and adapter procedures